
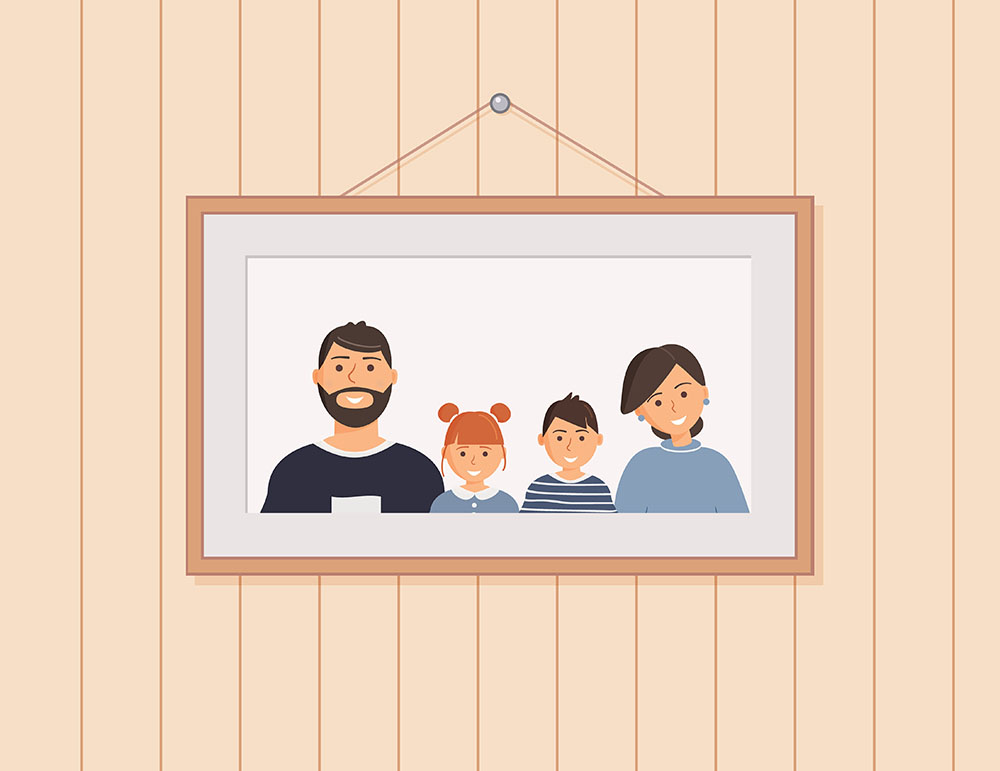
You’ve invested in a beautiful family portrait session, and now it’s time for the best part – displaying those memories in your home! But where do you start? Hanging family photos can feel overwhelming, but with a few simple tips, you can turn your walls into a stunning gallery that feels intentional and stylish.
Choose the Right Location
Start by thinking about where you spend the most time and where you’ll enjoy seeing your portraits every day. Popular spots include:
-
Living room: The perfect place for a statement piece or gallery wall.
-
Hallways: Great for smaller series or a row of portraits.
-
Bedrooms: A cozy spot for intimate, candid images.
-
Entryway: A welcoming focal point as guests enter your home.
Tip: Avoid placing photos where they’ll get direct sunlight all day – it can cause fading over time.
Pick the Right Size and Layout
Scale matters. Too-small portraits can get lost on a big wall, while oversized frames can overwhelm a small space. A good rule of thumb is to leave 2–3 inches between frames for gallery walls and make sure your artwork covers about two-thirds of the wall space above a sofa, console table, or bed.
Popular layout ideas:
-
One Statement Piece: A single large portrait for maximum impact.
-
Symmetrical Grid: Perfect for a clean, modern look.
-
Eclectic Gallery Wall: Mix portrait sizes, frame styles, and even other art pieces.
-
Linear Row: Ideal for hallways or staircases.
Coordinate Frames and Colors
Frames don’t have to match, but they should complement each other. Choose a style that ties your space together – whether that’s sleek black frames for a modern look, natural wood for a cozy feel, or a mix of metallics for an eclectic vibe.
Tip: Keep your color palette consistent so the photos look cohesive together, even if they were taken at different times.
Hang at the Right Height
The center of your arrangement should be at eye level (roughly 57–60 inches from the floor). For pieces hung above furniture, leave about 6–8 inches between the top of the furniture and the bottom of the frames.
Use the Right Tools
Skip the guesswork and use a level, measuring tape, and painter’s tape to plan your layout before hammering. Command strips or picture-hanging hooks can help avoid unnecessary holes in the wall, especially if you’re renting.
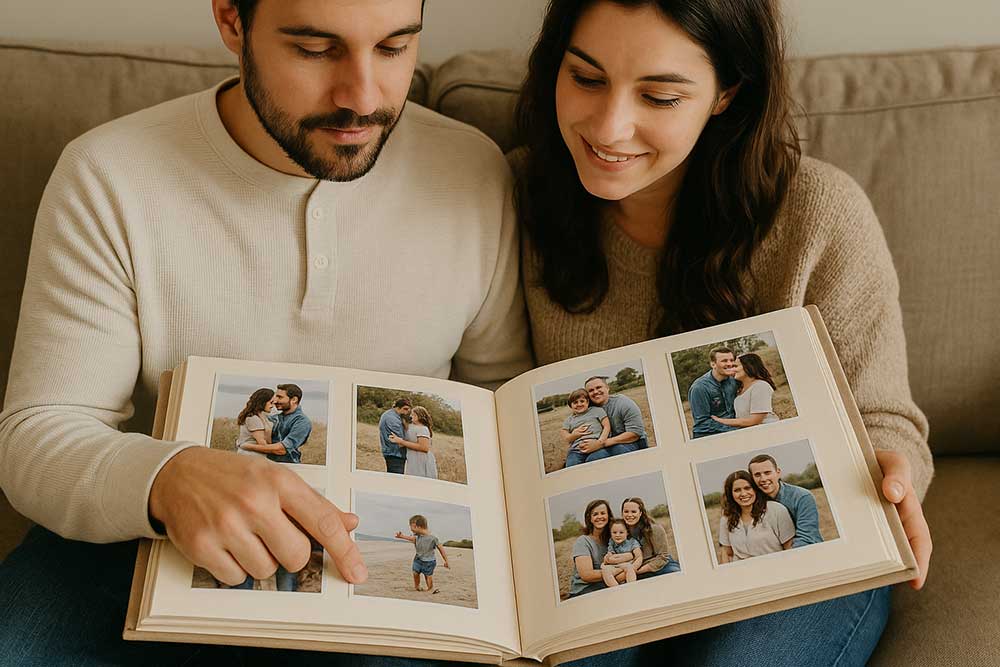
Tell a Story
Consider the order of your photos. Arranging them chronologically or grouping them by theme (vacations, milestones, seasons) can create a narrative that’s meaningful to your family.
Keep It Flexible
Your family will grow and change – and your gallery wall can too! Leave space to add new portraits over time, or swap out older images for updated ones as your story continues.
Final Thought
Hanging your family portraits is more than decorating – it’s a way to surround yourself with love, laughter, and memories. With a little planning, you can create a wall that makes you smile every time you walk by.
| Location / Wall Space | Recommended Print Size | Why It Works |
|---|---|---|
| Above Sofa or Bed | 24×36, 30×40, or larger (or a 3-piece set with 16×20 each) | Fills the space proportionately and creates a striking focal point. |
| Hallway or Staircase | Multiple 8×10, 11×14, or 12×18 prints in a row | Creates a story-like sequence as you walk through the space. |
| Entryway / Small Wall | 16×20 or 20×24 single portrait | A welcoming statement that doesn’t overwhelm a smaller space. |
| Gallery Wall | Mix of 8×10, 11×14, and 16×20 | Adds variety and visual interest while maintaining balance. |
| Desk or Shelf Display | 5×7 or 8×10 framed prints | Perfect for close-up viewing and layering with décor items. |
0 Comments